Millenium
Falcon
-Cutaway
Fibre Optics
PURCHASED:
060930
BEGUN:
060930
COMPLETE:
01 Status Report
http://www.youtube.com/watch?v=8FfWX1-IXco
CONSTRUCTION LOG
PARTS LIST
1 Millenium Falcon kit
2(3) CCF Tubes
Numerous leds
1(2) ElWire?
Various metal and pvc
061022
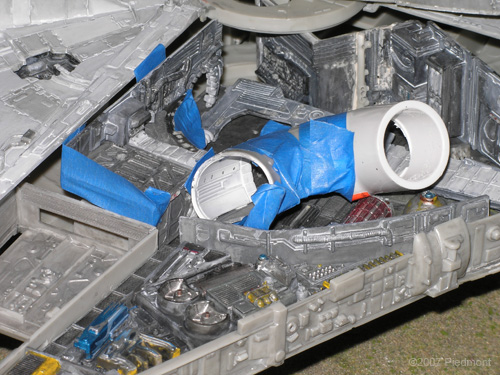
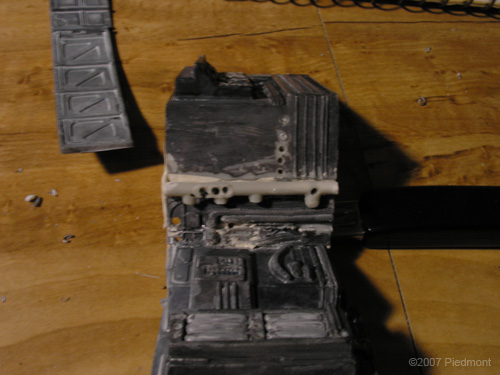
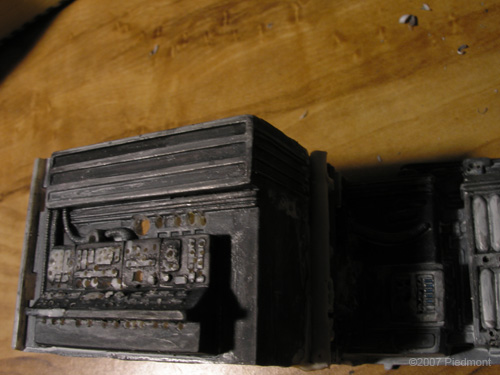
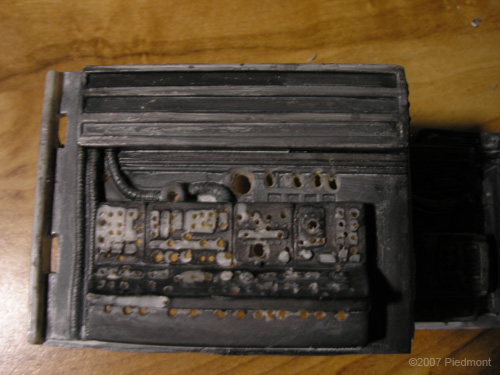
While painting the interior set, I decided that I would light this kit. First, I would have to drill. And that would have to wait for a dremel. For lighting, I re-modified the original battery hatch to open again (first edition from 1978 was a lit kit, so the internals were all still there.)
I'm still doing research on lighting basics. In that research I discovered stuff called the EL (electroluminescient) strips, EL panels and EL wire. Basically as thick as paper it glows and comes in various sized sheets. And it can be cut into any shape whatsoever with no heat whatsoever!
For the interior cockpit, I will glue these sheets on the inside walls, get screen captures of the actual cockpit from Empire Strikes Back, print and size those out on clear vinyl sheets, and voilà! It will look exactly like the actual cockpit, because it will be taken from the actual cockpit! Wicked!
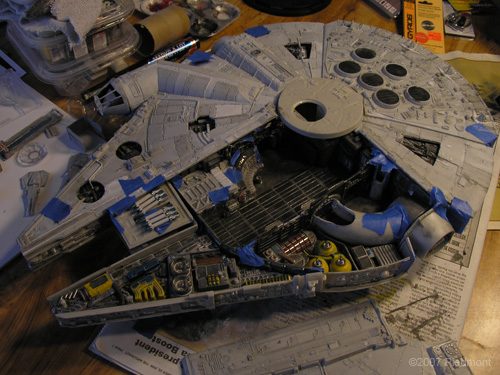
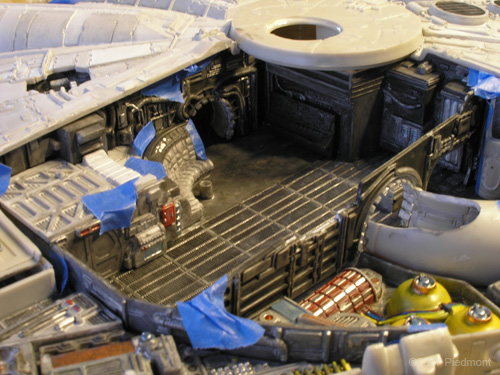
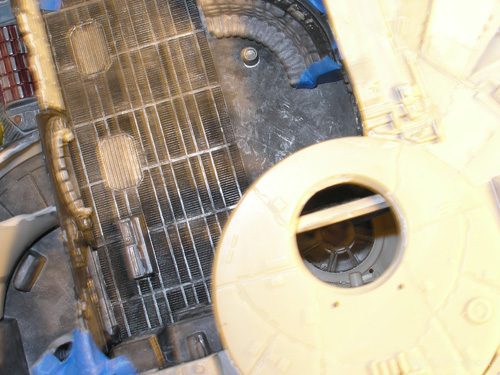
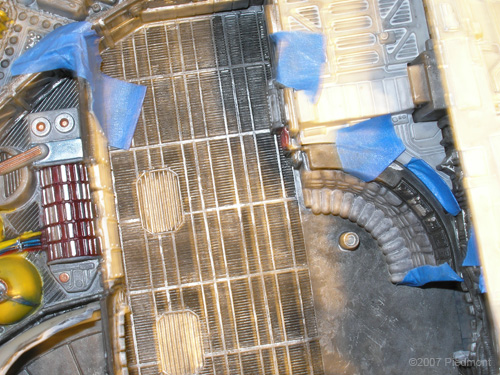
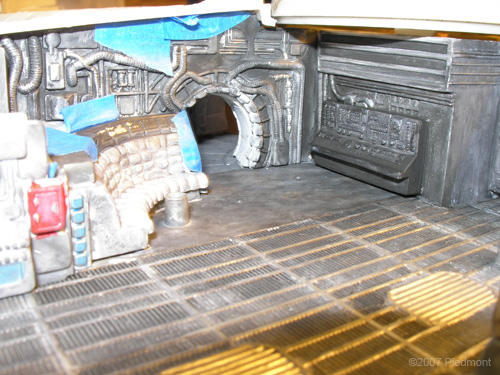
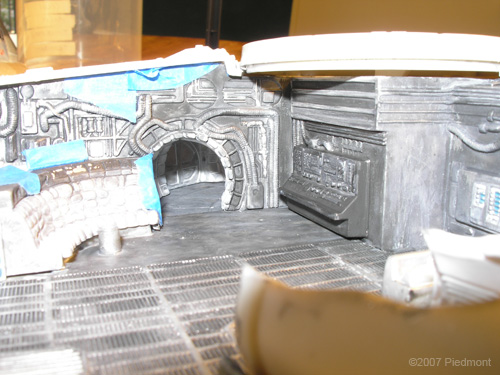
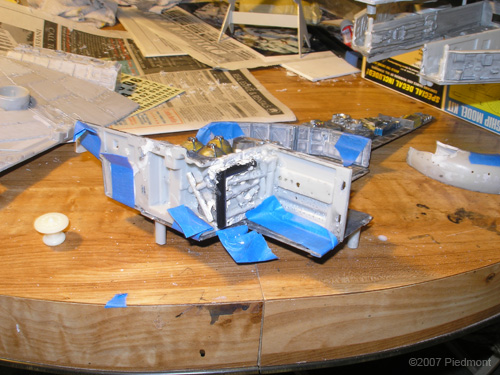
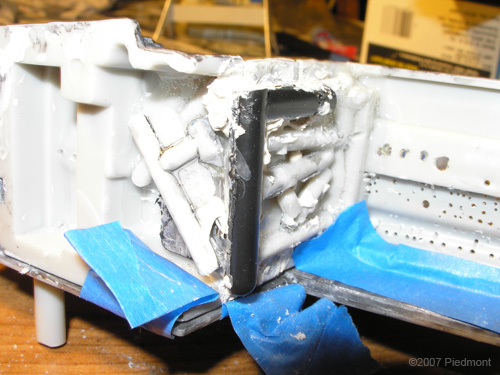
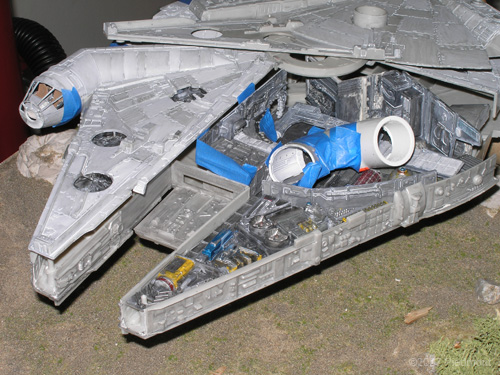
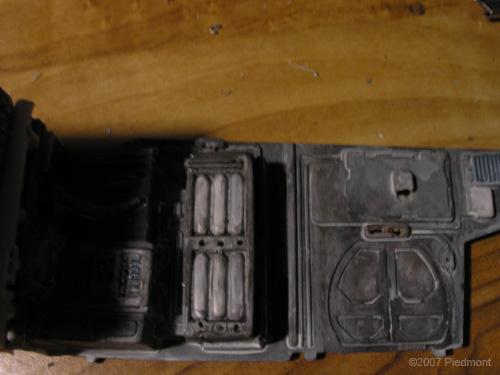
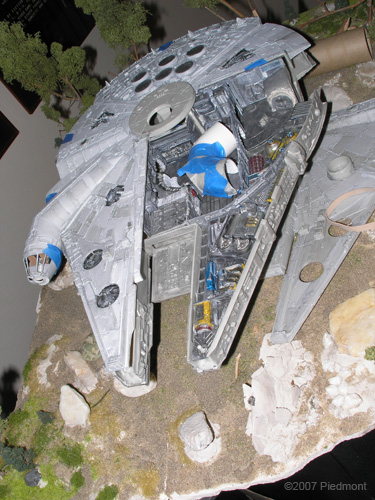
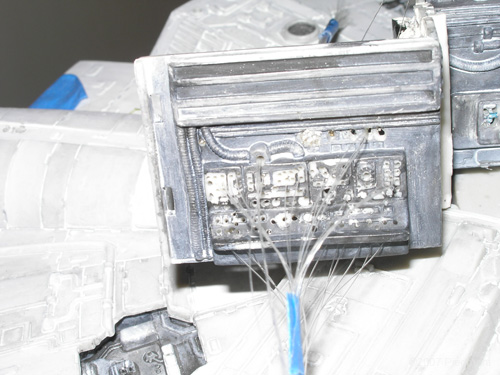
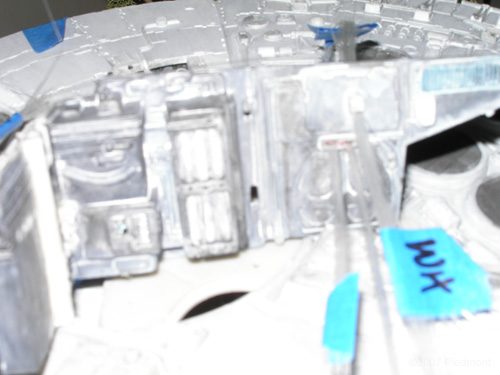
The interior set now has 150 plus drill holes in the various walls and panels. It is now awaiting fiber optics. Everything that can be glued up to this point has been glued. All interior painting has essentially been done and this kit is now in stasis.
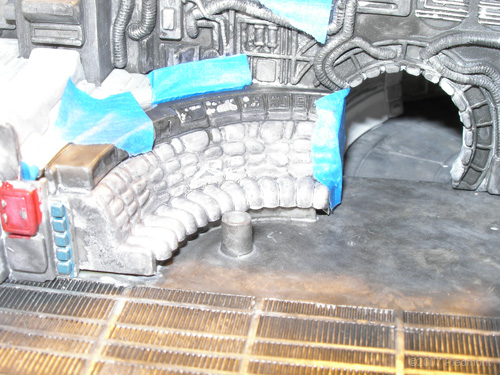
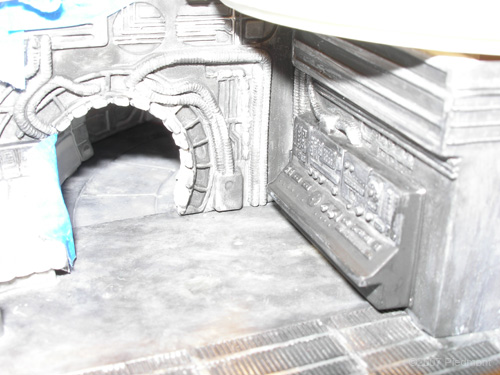
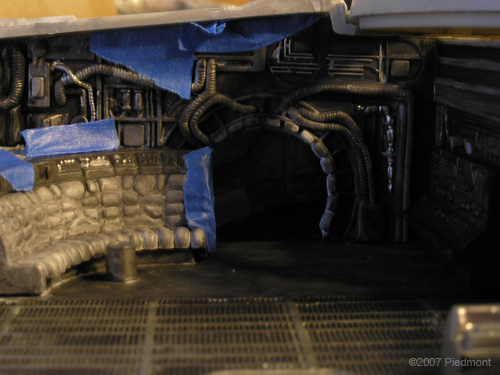
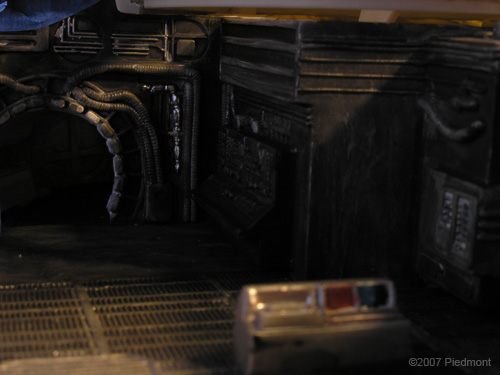
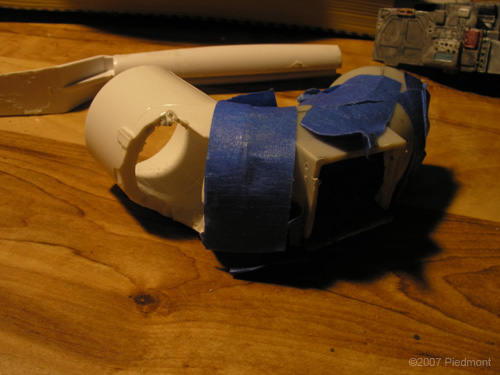
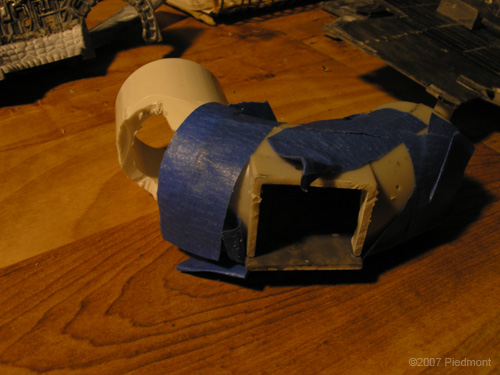
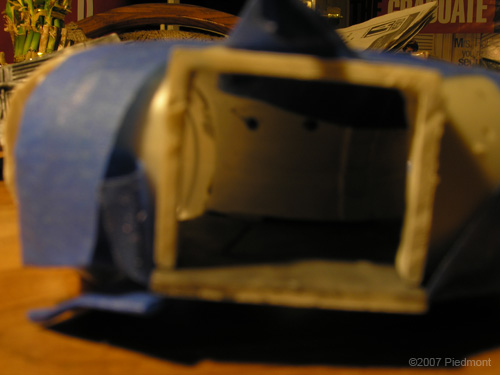
Mods: cut away the door leading to the cockpit and place the end of escape hatch tunnel. I'm creating additional interior tunnels for complete line-of-sight coverage. I'll also light these sections for full internal ambience.
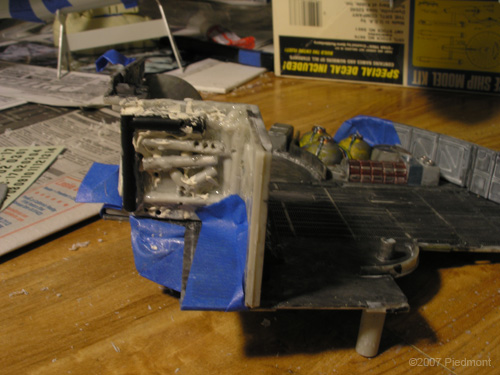
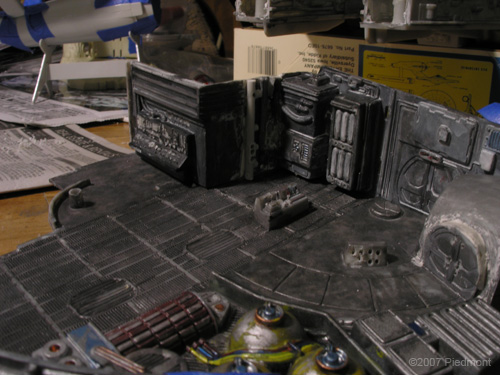
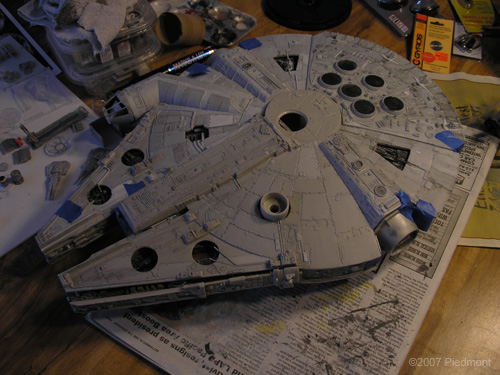
Paint strategy: the base factory fresh color is made up of six layers with more to come -- washes:
1. initial medium black.
2. medium black.
3. medium Silver.
4. light white
5. Medium white.
6. Medium white.
7. all additional factory colors.
8. Dirt wash, 1
9. Dirt wash, 2.
10. Etc..
061224.00
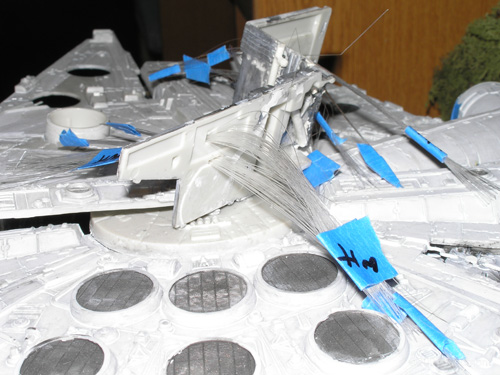
I tried an initial fiber-optic wiring test on the interior panels. Holy shit! What a bitch this is going to be! A while ago, I bought one of those fiber-optic light toys. The kind that has dozens of strands that splay out all over the place. Ripped it apart and studied how it were put together. Too simple.
The strands were only a few inches long, however, but more than adequate for testing. And this first test revealed that I am going to need different widths. Multithreading single holes is not the effect I need, and it looks pretty poor.
As I long suspected, melting several strands together simply makes a multipoint fused light output. And that's the best outcome. The worst outcome is that you get blobbing plastic blobs of light all over. The blobs from the plastic obscures the light flow and is therefore no good. The stuff can't be cut (easily) due to the glass coating inside each strand.
070224.16
Acquired a blue EL strip for the engines. It'll work well. I have to determine the electrical stats for this so that I can wire it into the circuit. May attach a dimmer to this one alone so they can power up and down independent of the rest of the lights.
Also got a white EL panel for the Galileo kit and that works perfectly! I'm going to proceed with the cockpit idea mentioned previously based on this success.
As I have a lot of painting ahead of me in general, I may throw her into the queue for the rest of the hull still needs to be done! With that out of the way, it's only lights holding this one up.
070425.15
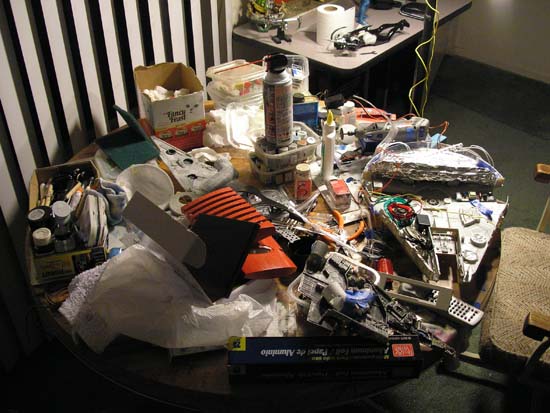
Over the last month, I have collected numerous amounts of electronics. I finally had a few evenings to get some layout work done. Of the stash, all the CCF's have been distributed w/a few to spare, some EL Wire has been assigned, a few LEDs, 1 sound module.
At the moment, I have only assigned a maximum of 3 ccf tube, 2 blue, 1 white. This kit will also need numerous leds, maybe a green el wire, and could also throw a blue or red wire in. However, this kit is primarily leds. I will attempt the fishing line test with this and Reliant to see how that works.
No other work done. I am going to the Sci Center to chk the prop show that ILM has going on -only thru next tuesday! Saw some photos a guy at work took and they were astounding. So, gonna go get my own ref!
070531.05
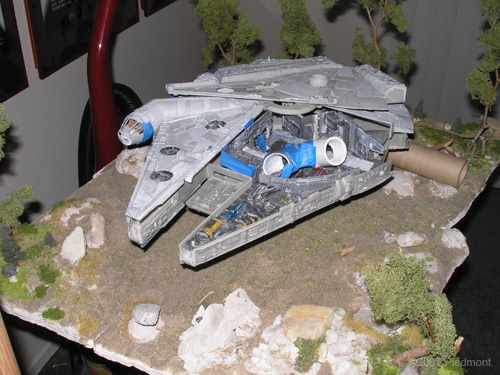
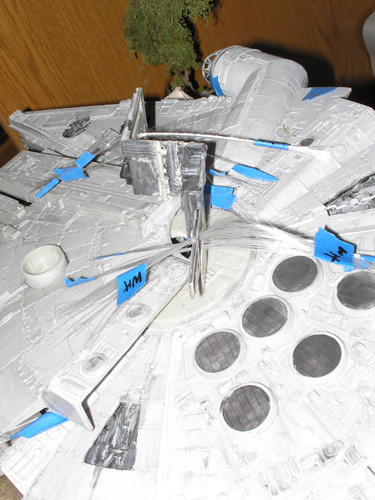
As I finished some resin kits and was working on the Space Shuttle, I broke this ol' girl out for some quick work. I had mistakenly thought I could take it to near completion, but that was never realistic. The fishing-line-as-fiber-optic trick didn't work at all and that is what halted further work; and she got wrapped back up.
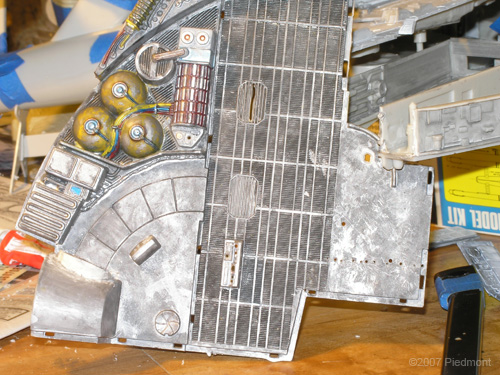
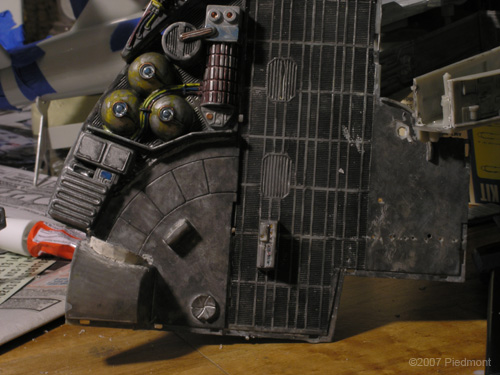
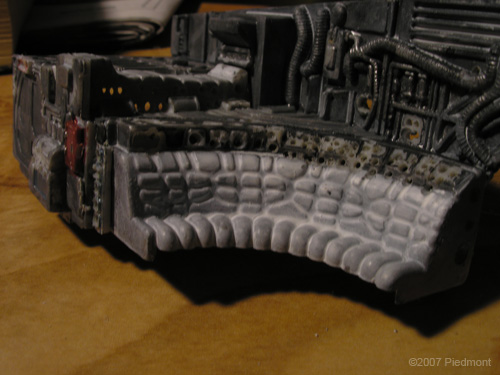
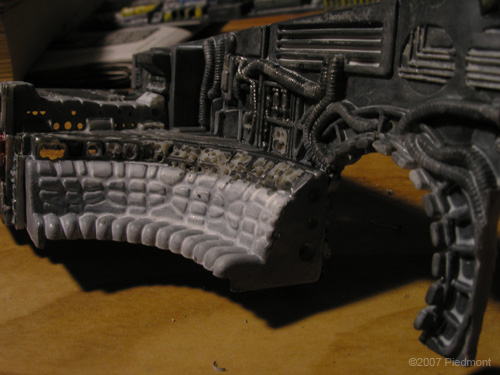
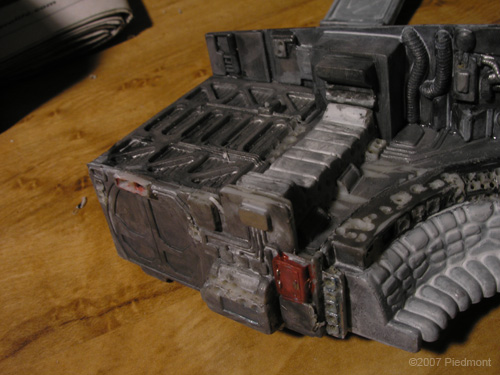
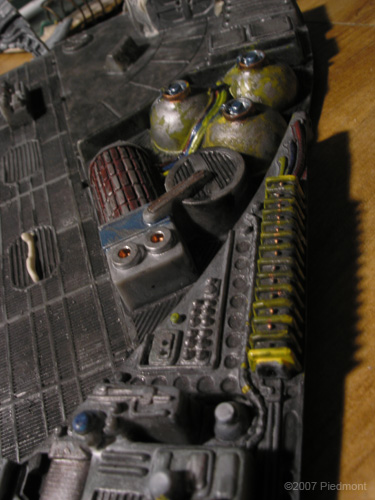
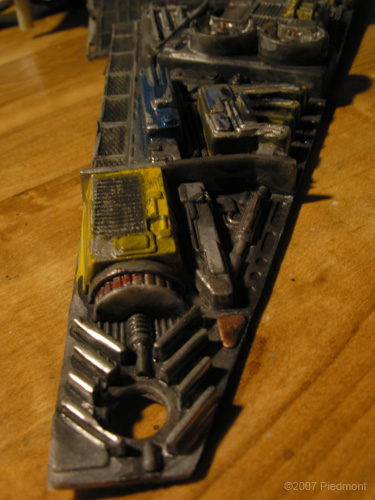
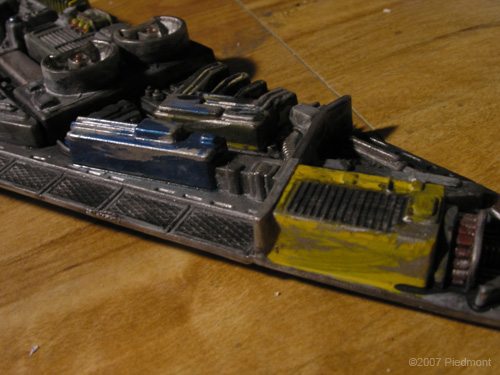
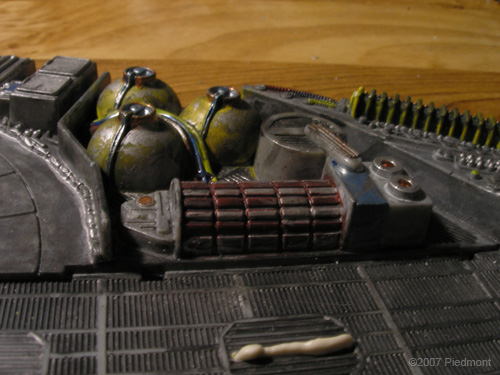
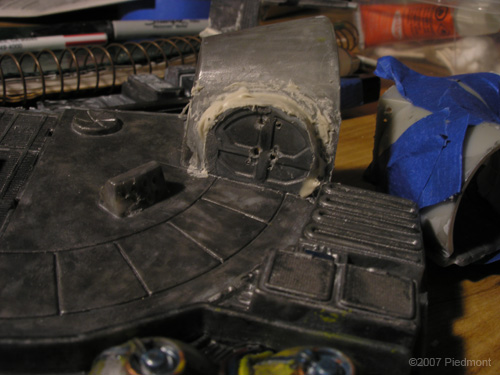
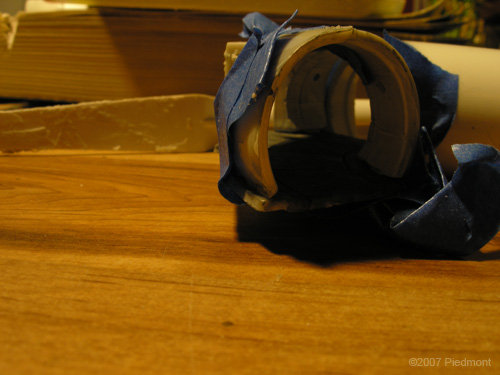
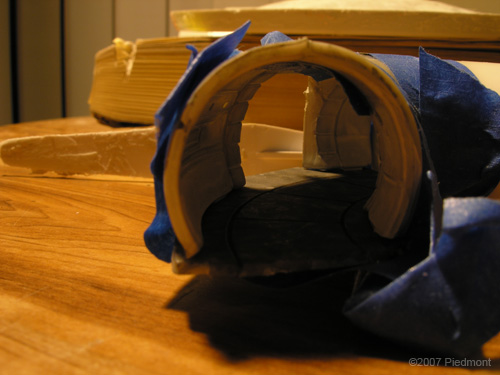
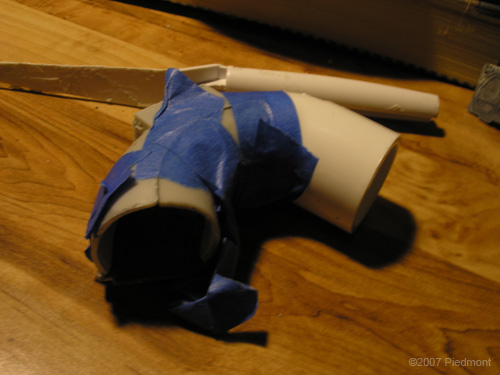
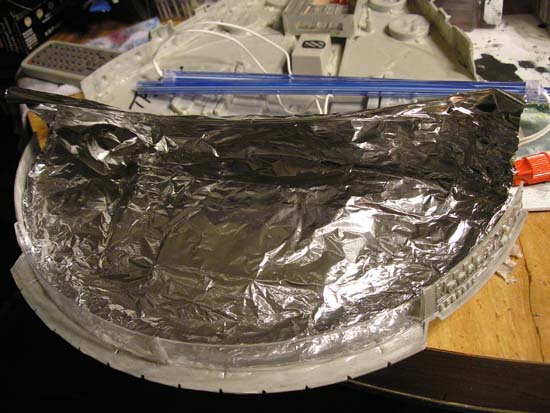
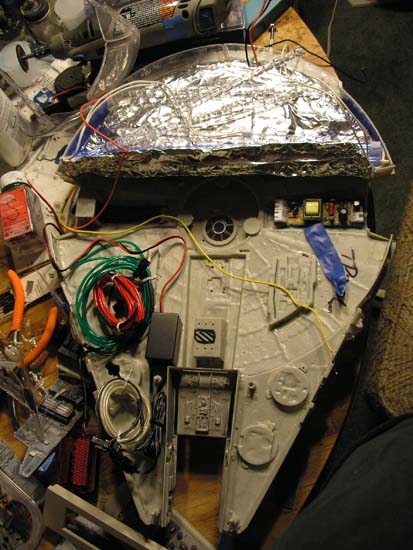
I got the engine lights down. I began this kit in the days before I relaized that I'd need to paint the interiors black first to eliminate light leakage. To counter this, I laid down foil all over the engine area -this was also to help maximize light transmission and reflectivity.
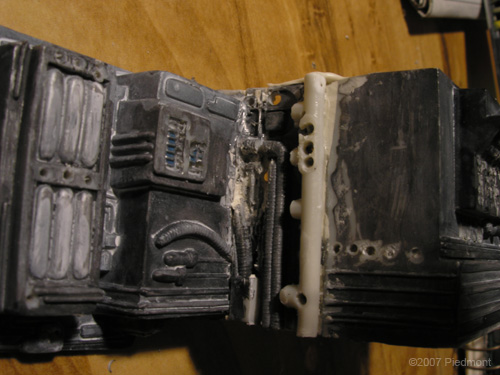
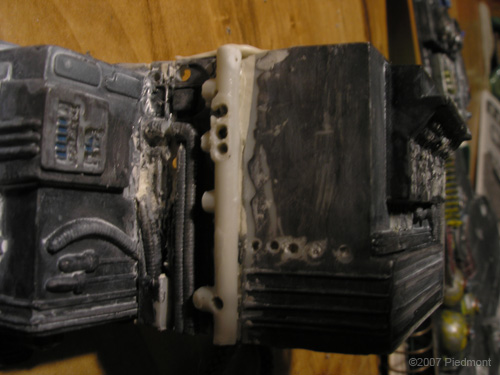
To further help the engines out, I grabbed some parts from another kit -the 1701 refit!
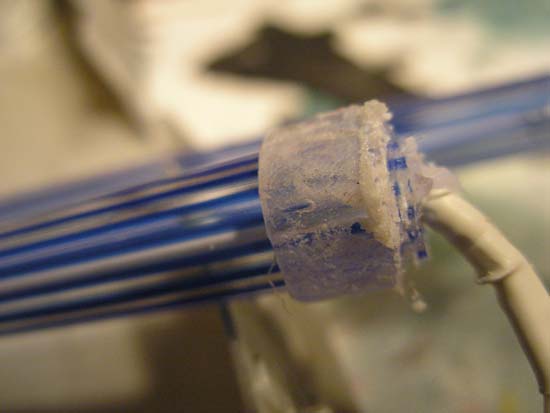
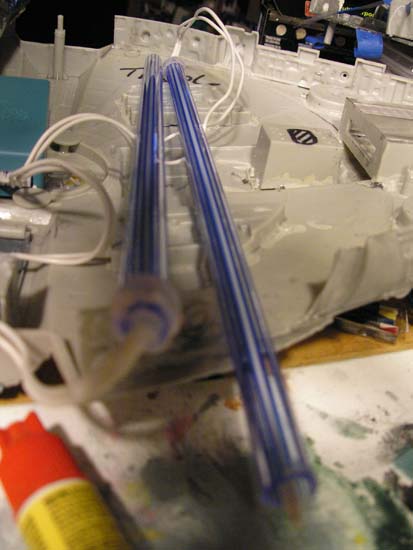
The Enterprise stand consisted of two transparent plastic, ribbed spokey things. They are a little shorter than needed for the Falcon, so I will be experimenting with a heat gun to stretch them into shape. It's a good thing Ibought the 2nd 1701 as the two included in each kit were not enough to fit the Falcon's engine height. Three however is perfect -leaving the fourth to experiment with.
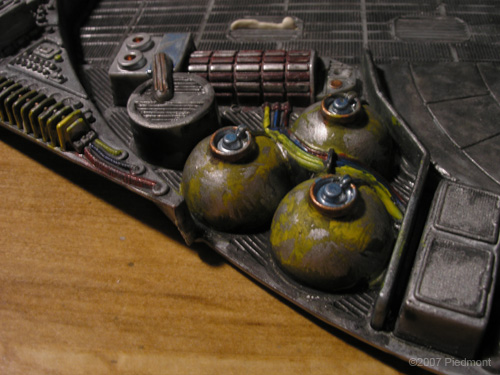
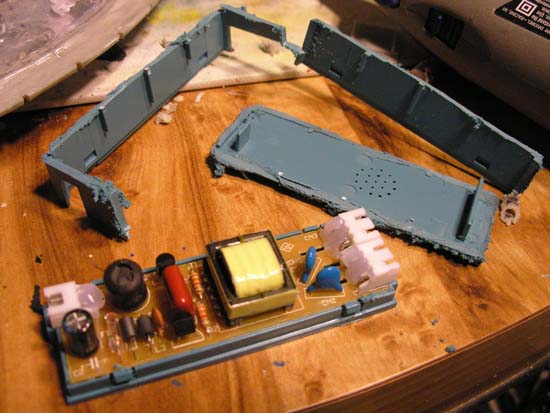
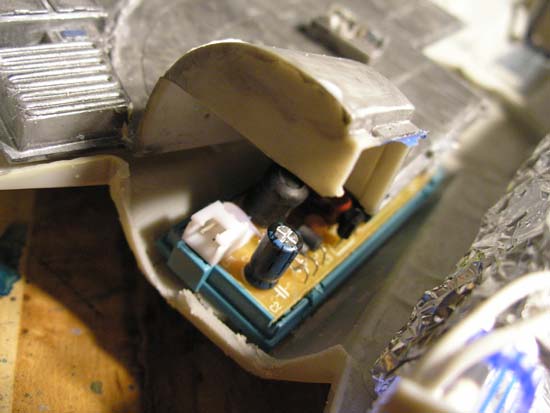
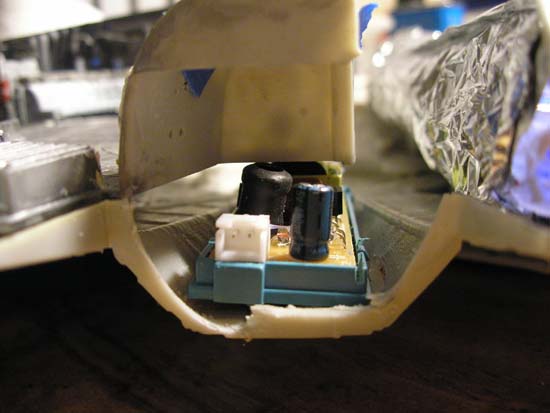
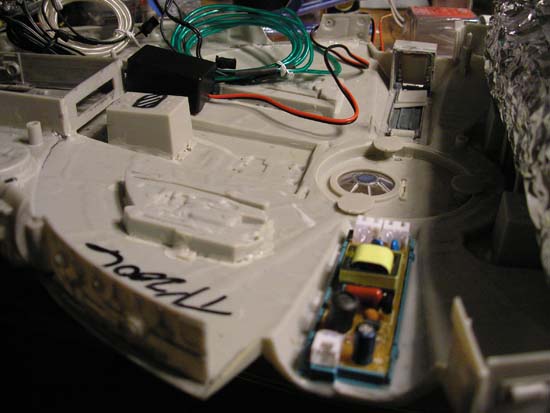
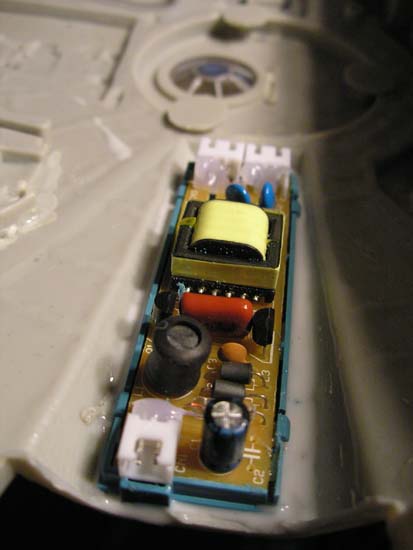
I had to modify the lights' transformer boxes to fit nicely. There are now two. One for the engines -CCF tubes used to mod computer cases, and one for the two strands of glow wire. Additionally I'll need to drop in numerous leds and an IC chip to control internal cabin blinky lights.
With the failure of the fishing line, things went on hold. This evening I found a hobby site that sells fiber optics!!! After 8 months of randomly searching, I've finally found some that isn't hundreds of dollars to the kilometer-long spool!
This stuff is about $20 for 100' spool or cheaper for foot length strands! Now I need to get into another job, get some paychecks rolling in and it's back to business!
I could still paint the outer body in the meantime if I get bored with other stuff. I also have to paint the interior black everywhere possible to kill light leakage. I will also double this up with foil baffles as I get closer to finishing. The baffles will also be necessary to protect different colored lights from interfering with each other!